Citrix ADC integration - OpenID Connect
- Georg Johansen
- Lise Kristoffersen
Requirements
Citrix ADC Advanced License with AAA feature. Minimum ADC version 11.
Prerequesites
- Citrix Gateway virtual server configured and ready to add Buypass Code OpenID Connect authentication. This Gateway must be configured for browser based access e.g. Reciever for Web use.
- For use with Citrix Virtual Apps / Dekstops it is required to have Citrix Federated Authentication Service (FAS) installed.
- OpenID Connect configuration acquired from Buypass.
- The user's mobile phone number is used for user account mapping in the local AD. The example in this guide requires that the user's mobile phone number is stored in the AD attribute 'mobile'.
Configuration
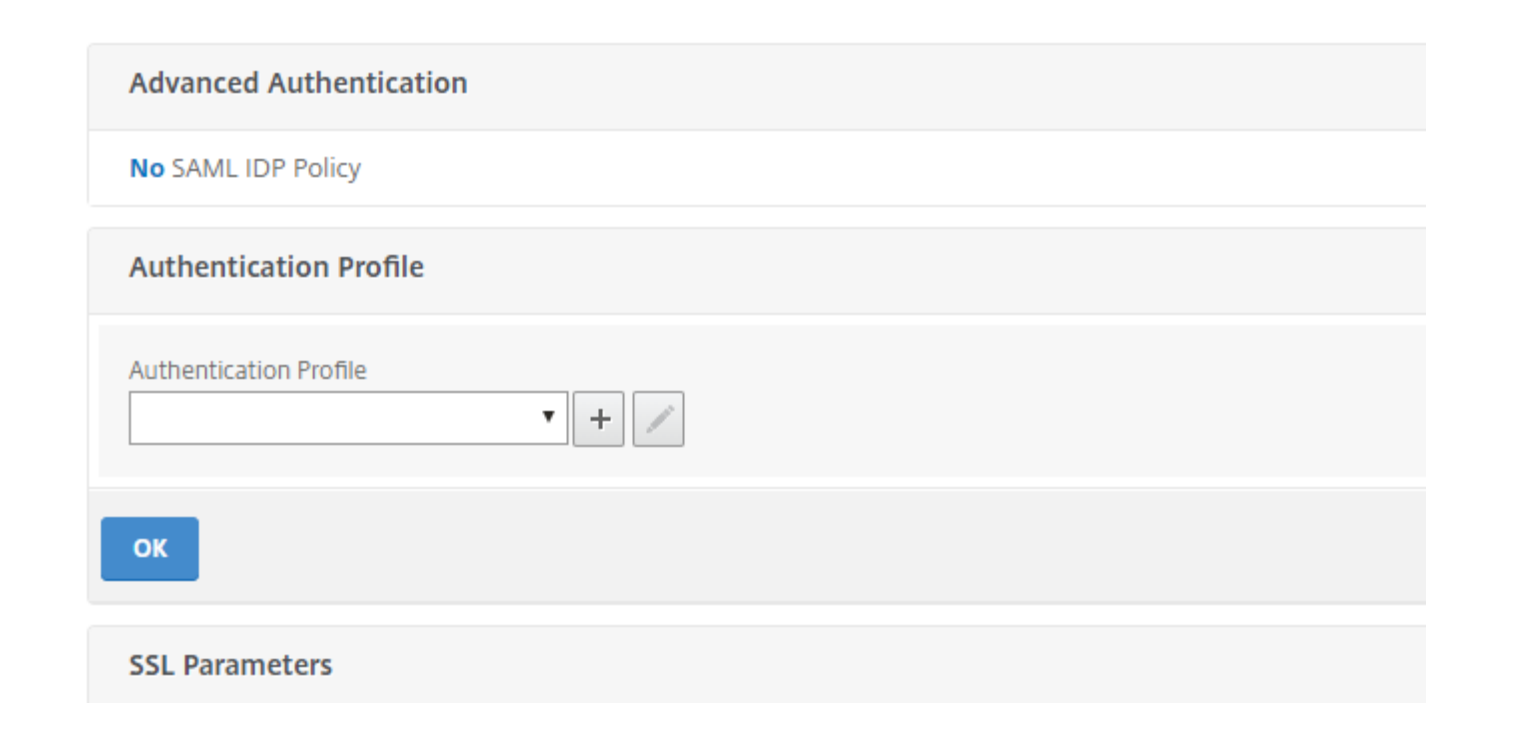
Open the configuration page for the gateway to be secured with OpenID Connect.
Choose Authentication Profile and create a new profile with the ADD (+) button.
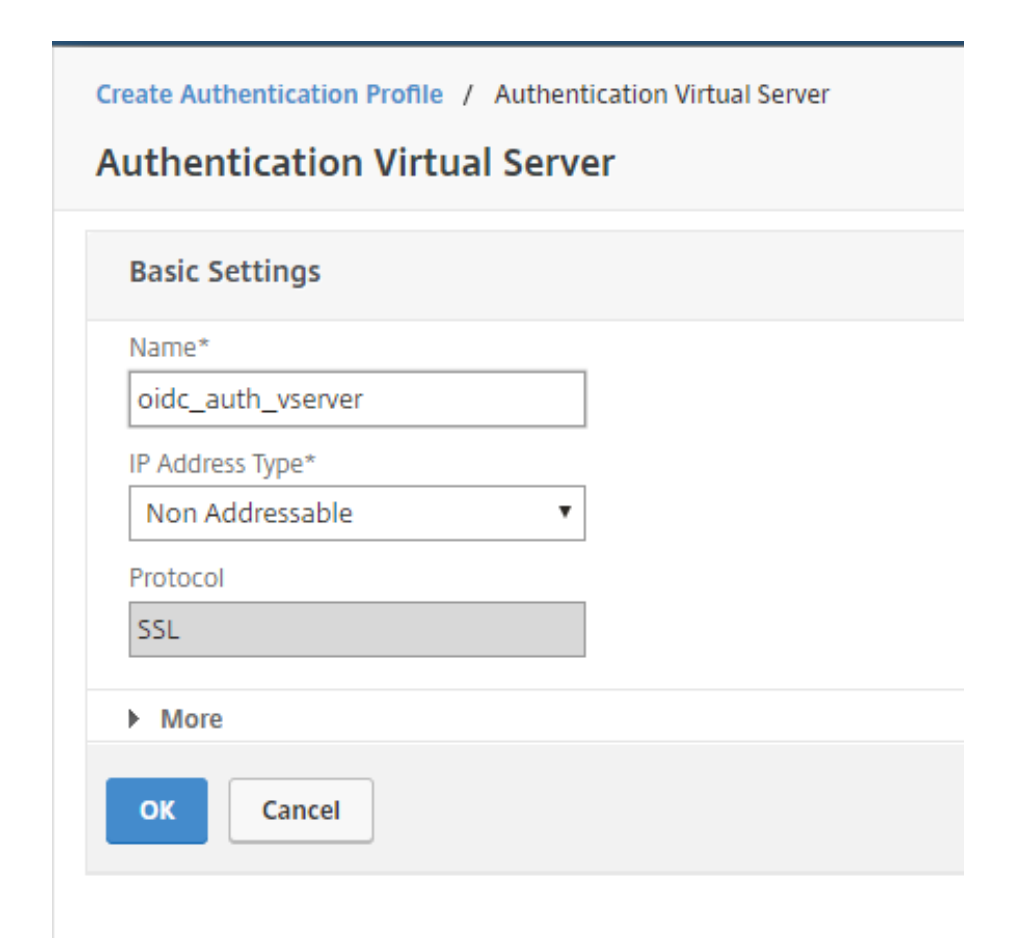
Give the Authentication Profile a name. Press ADD (+) to create an Authentication Virtual Server.
Configure the Basic Settings. If the Authentication Virtual Server should not reachable externally to the Citrix ADC the IP Address Type can be set to Non Addressable.
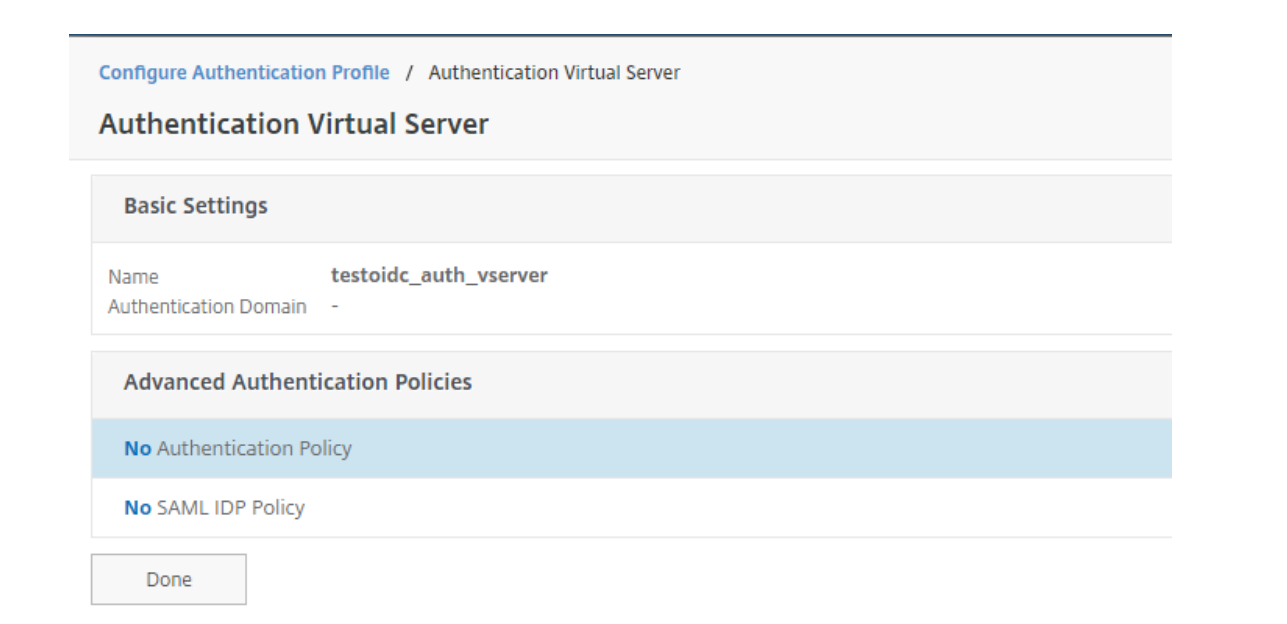
Press No Authentication Policy.
Press ADD (+) on Select Policy to create an Authentication Policy
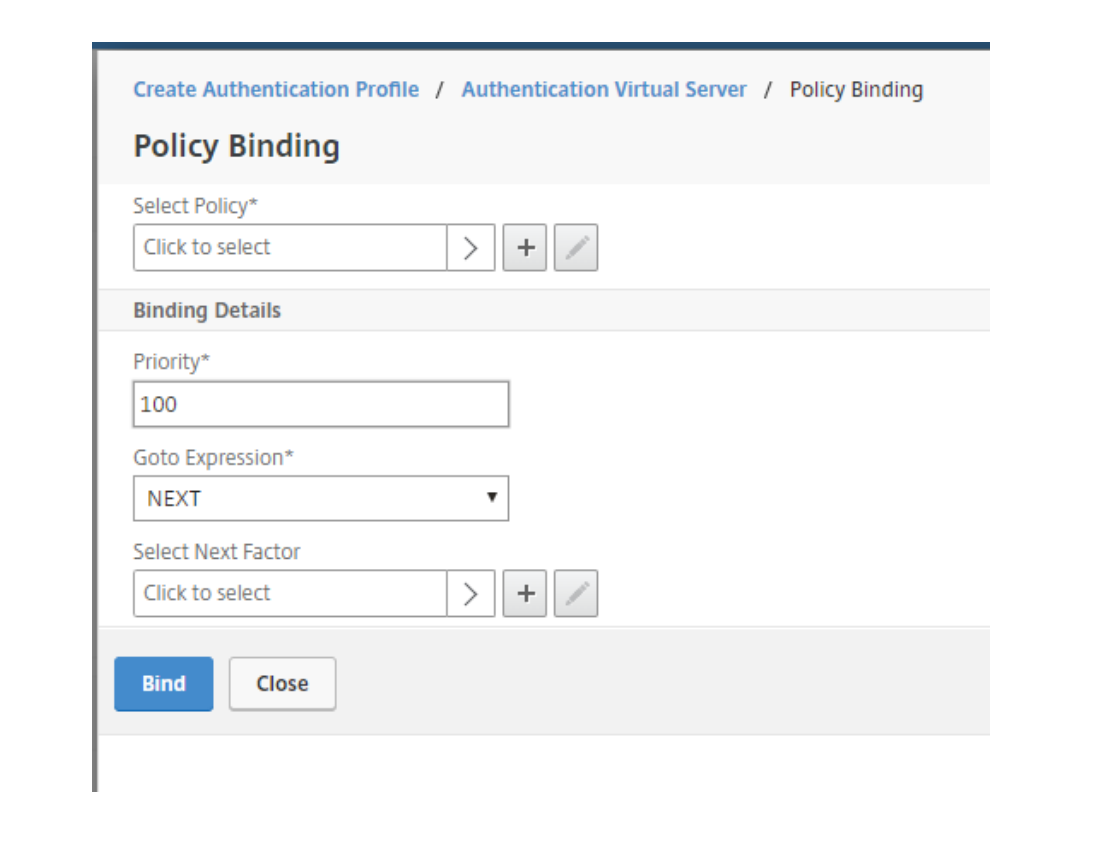
Give the Authentication Policy a name. Choose Action Type to OAUTH. Set Expression to true.
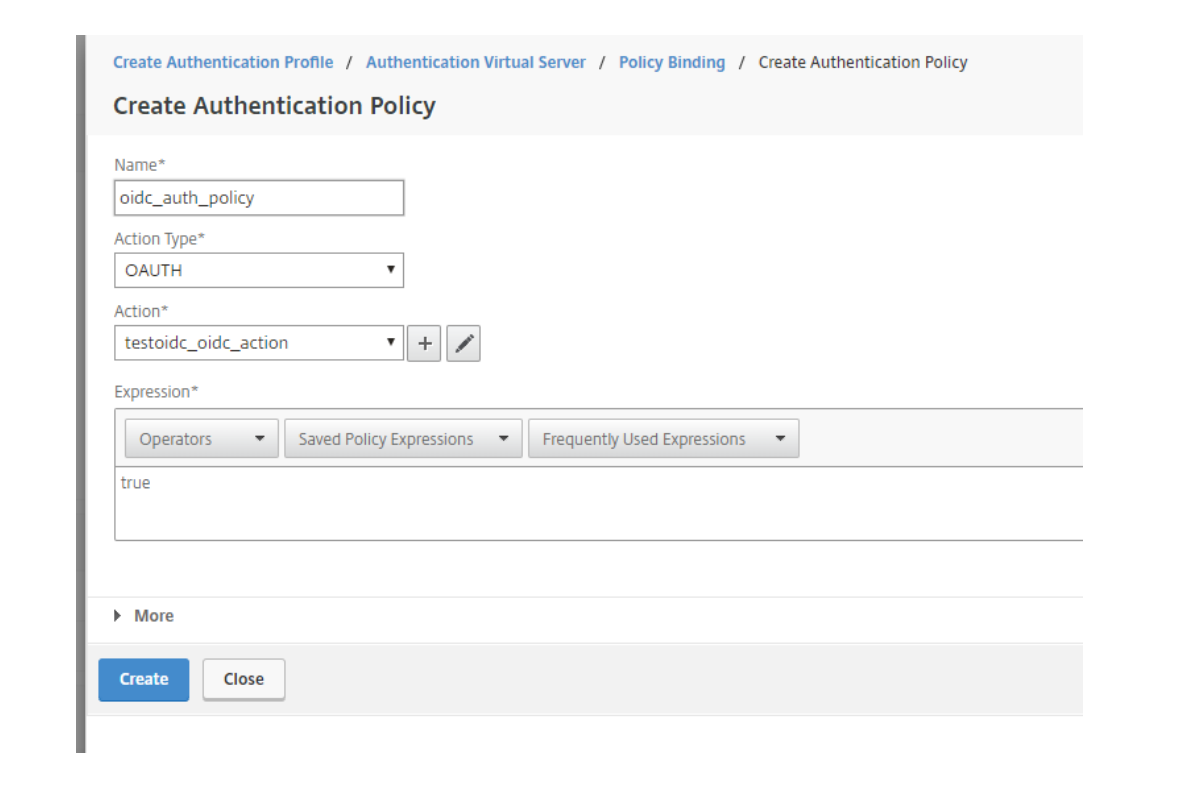
Press ADD (+) on Action to create a new OAUTH Authentication Action.
Configure the OAUTH Server according to the OpenID Connect configuration recieved from Buypass.
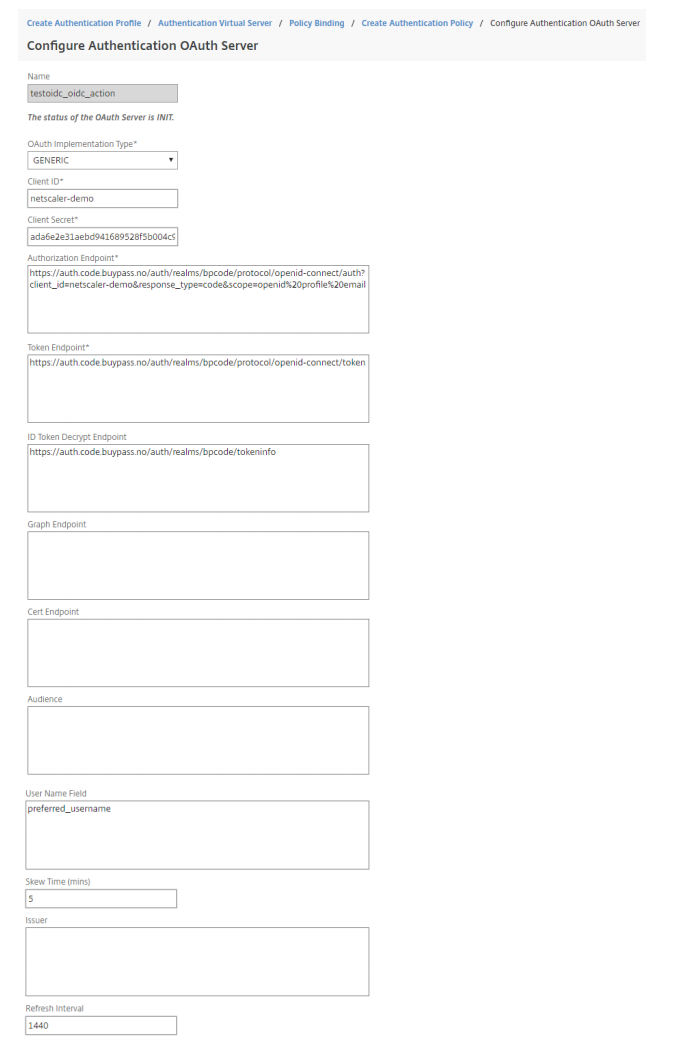
Press Create and press Bind.
Add Authorization of users through LDAP. This is achieved through Citrix ADC Next Factor.
Open the newly created Authentication Policy. Press Edit Binding.
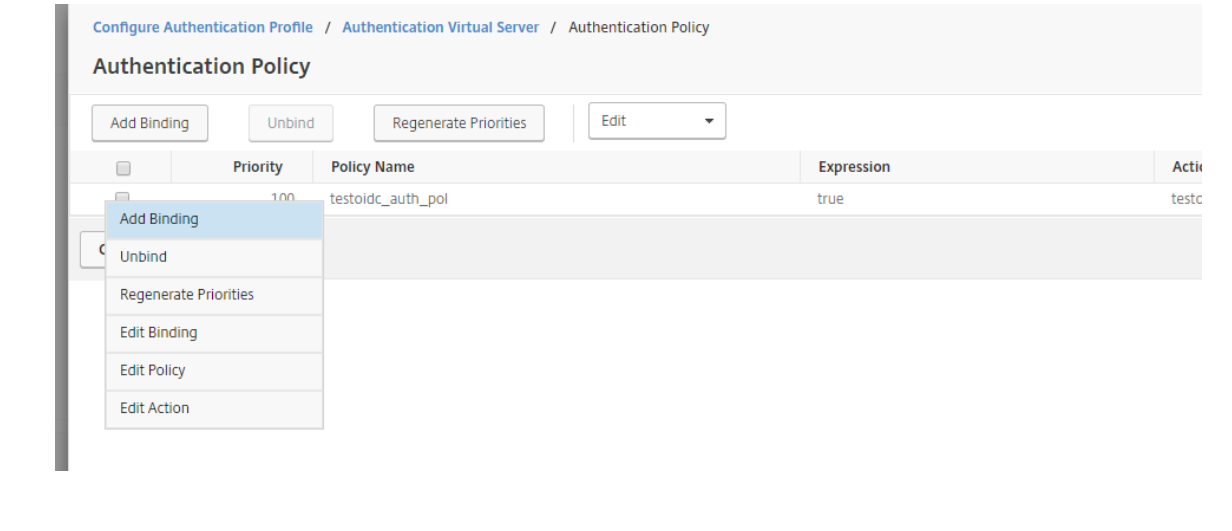
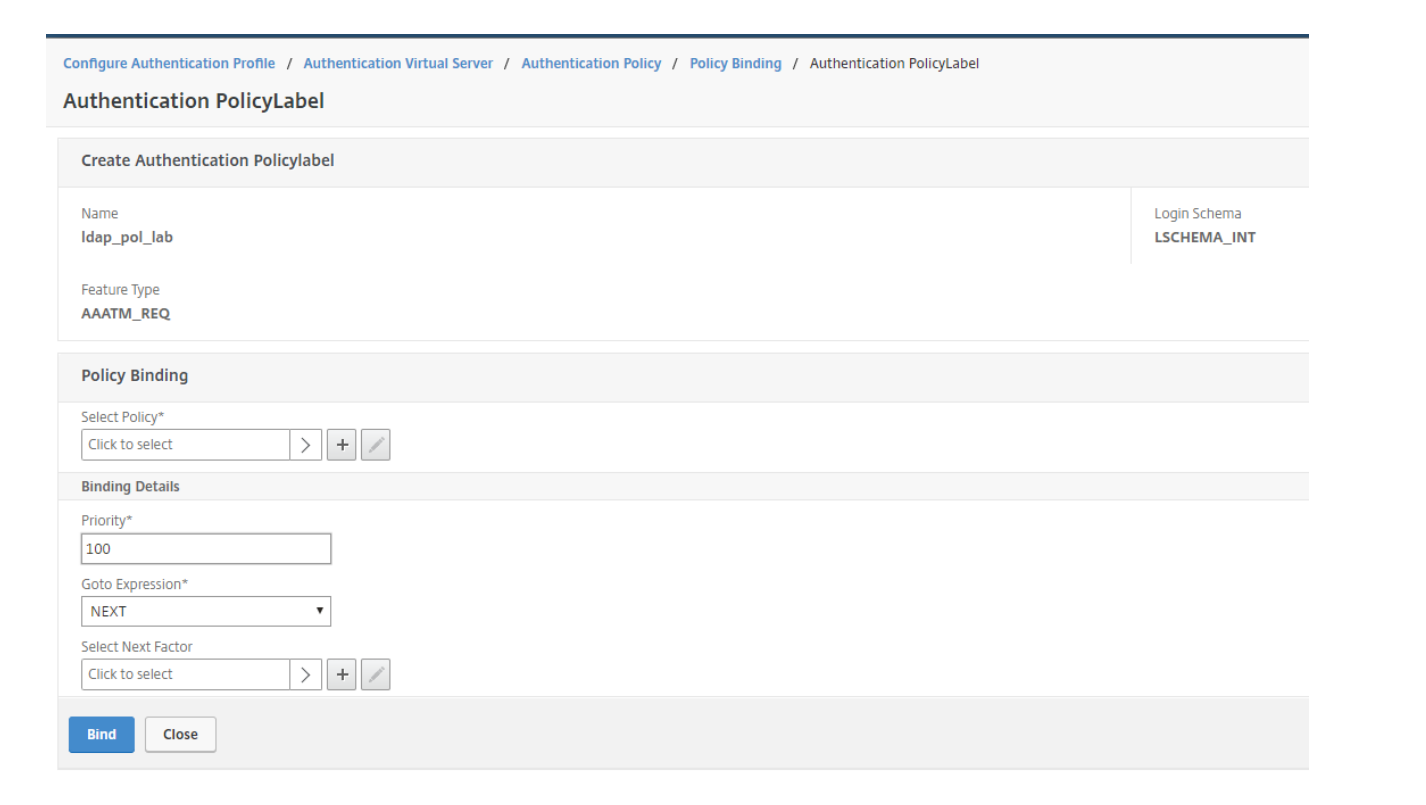
Press ADD (+) on Select Next Factor to create the next Factor.
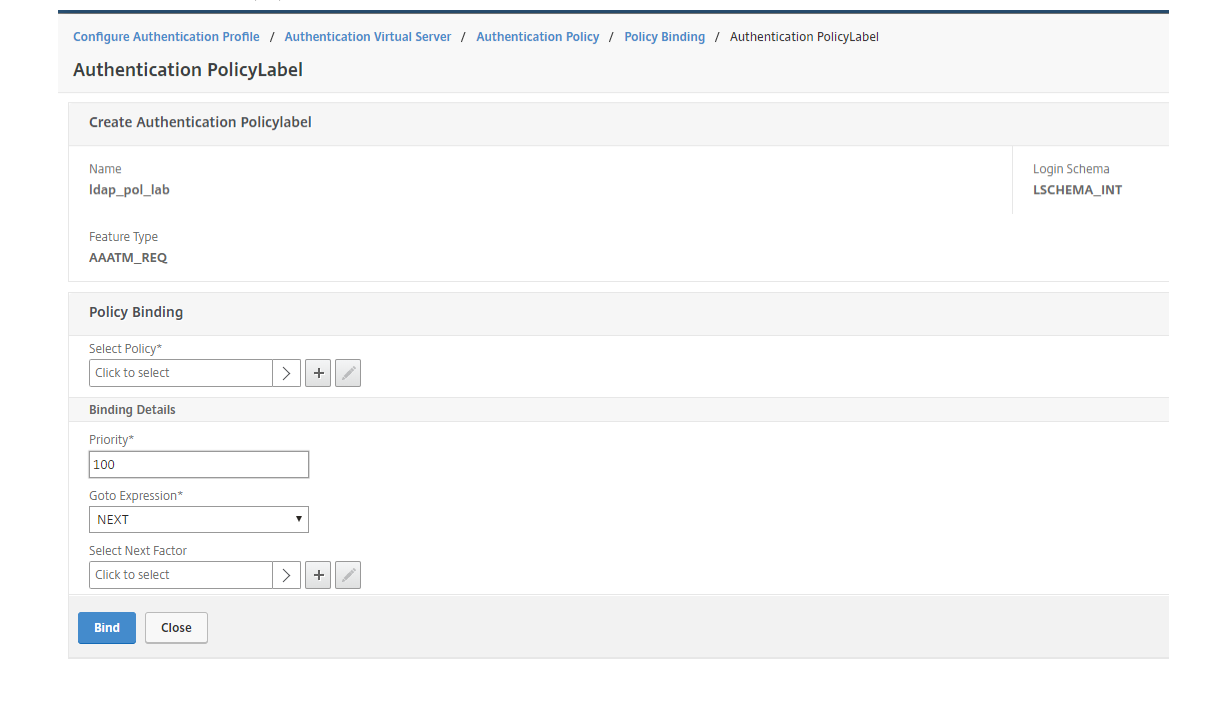
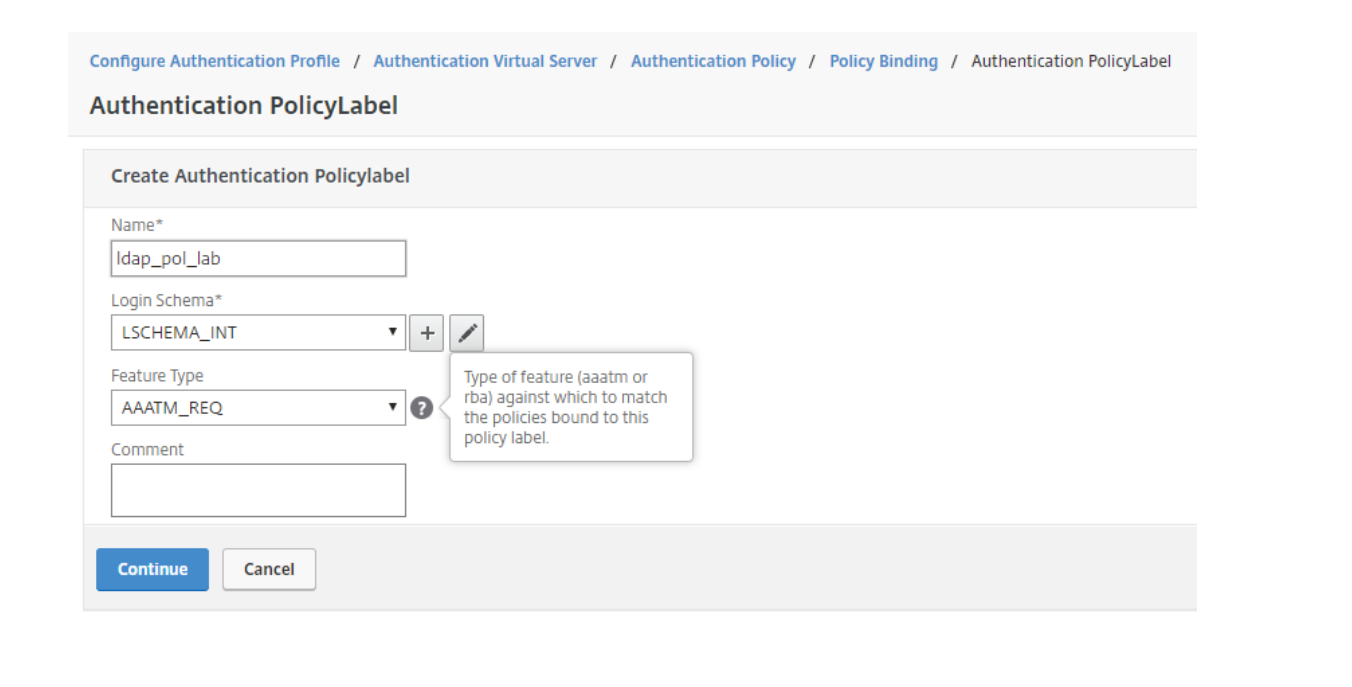
Give the Authentication PolicyLabel a name. Since the LDAP authorization will be performed without GUI, Login Schema can be kept as LSCHEMA_INT. Press Continue.
Press ADD (+) on Select Policy
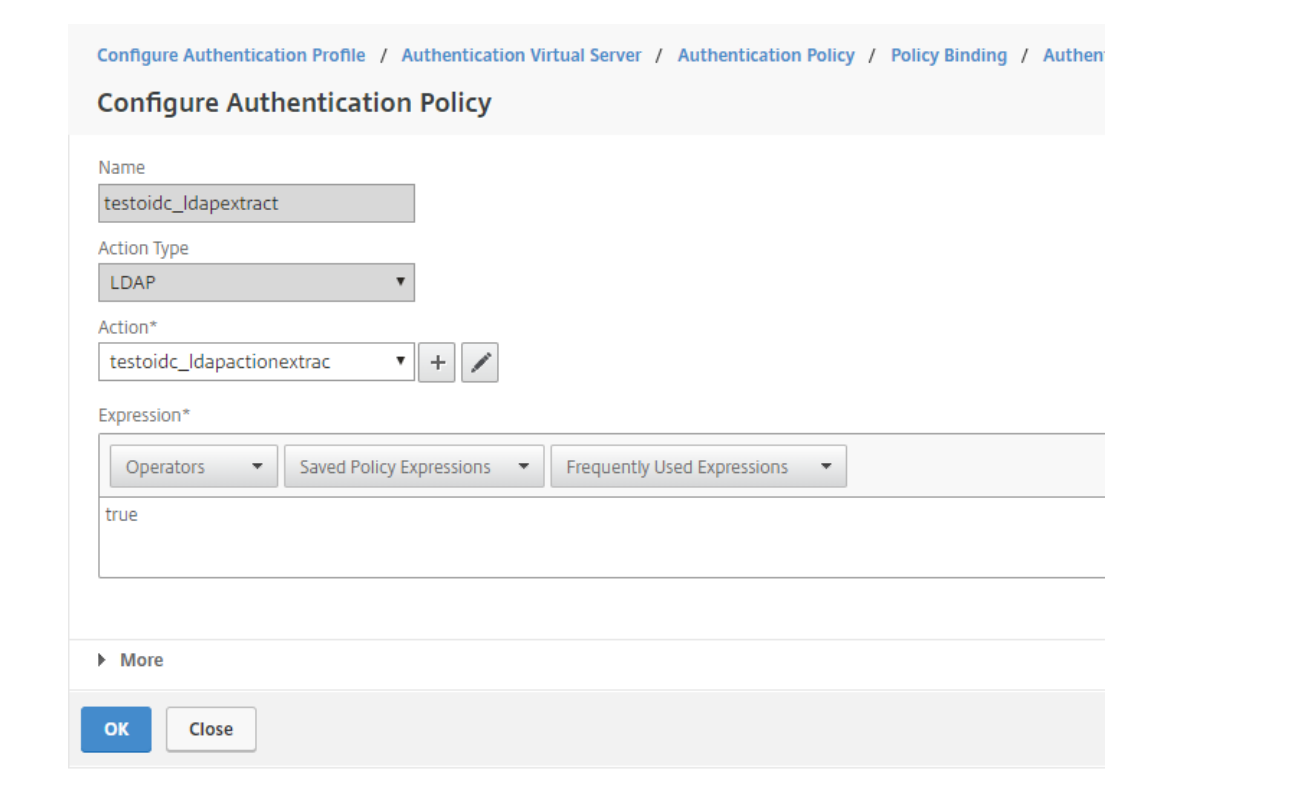
Give the Authentication Policy a name. Choose Action Type LDAP. Set Expression to true. Press ADD (+) on Action to create an LDAP action.
Below us an example configuration for the LDAP server.

The Authentication check-mark is not chosen since the LDAP action is only going to find the user account which has the matching mobile number attribute in AD.
userPrincipalName is used for SSO attribute to e.g. Storefront.
Press Bind, Create, OK and Done until you reach the Gateway configuration GUI again.